VS Code React Setup - 5 Tips

James is a JS Developer, Keynote Speaker, and Content Creator whose passion for teaching and empowering developers has impacted hundreds of thousands of developers. With 10+ years of Software Development and Developer Advocacy experience, he brings deep technical knowledge as well as a proven ability to communicate across levels of understanding and experience to impact a broad audience of developers. In his spare time, he runs a thriving Discord community called Learn Build Teach, plays co-ed soccer with his wife, and can solve a Rubik's cube in under a minute.
Want to become a better React developer? Your VS Code React setup can drastically change how you create React apps. In this article, we'll cover 5 tips to improve your VS Code React setup so you can improve your efficiency and proficiency as a React developer!
Download the FREE 2-page cheat sheet!
1. Extensions
Extensions are where most of the power and flexibility of VS Code comes into play. There's one React extension that you absolutely have to have. It provides incredibly useful snippets for generating components, writing imports/exports, and lots more. It's a no-brainer.
ES7 React Redux Graphql Native Snippets
Here's an alternative snippets extension that you also might find useful.
There are also several more general (JavaScript focused) ones you'll want to check out.
If you use Styled Components with React (I'm becoming a bigger and bigger fan), you literally can't live without this one. You get CSS syntax and highlighting right inside of your styled component files!
You will also want to set up debugging with the Chrome Debugger Extension. More on this in a second 😀
2. Emmet in JSX
Emmet is one of the most amazing features you may have never heard of. Emmet allows you to generate HTML and CSS from short-hand snippets. For example, if you wanted to create the boilerplate for an HTML file, you can simple type ! and then tab.
<!DOCTYPE html>
<html lang="en">
<head>
    <meta charset="UTF-8">
    <meta name="viewport" content="width=device-width, initial-scale=1.0">
    <title>Document</title>
</head>
<body>

</body>
</html>
Or create a div witth a class of "container" with .container and then tab.
Or create a ul with three li children with ul>li*3.
Wnat to learn more? Check out this Full Emmet Tutorial
The only issue is that Emmet only works in HTML files by default, BUT...you can configure it to work inside of your React JSX with this one setting.
"emmet.includeLanguages": {
        "javascript": "javascriptreact",
    },
With that setting in place, you can leverage the power of Emmet right inside of your JSX!
Learn more about how to set up your Visual Studio Code environment!
3. Debugging
Want to know how to take the next step with your Web Development career? Learn how to set up debugging in VS Code!
Like most people, I write a lot of console.log() statements. However, log statements aren't quite the same as a genuine debugging experience. So, did you know that you can set up debugging right inside of VS Code?!
First, you'll need to install Debugger for Chrome extension. Next, open the debugging menu and create the following debugging configuration.
{
    "version": "0.2.0",
    "configurations": [
        {
            "type": "chrome",
            "request": "launch",
            "name": "Launch Chrome against localhost",
            "url": "http://localhost:3000",
            "webRoot": "${workspaceFolder}"
        }
    ]
}
With your configuration in place, start your React application. Then, start your debugging session by clicking the play button in the debugging menu.
4. Intellisense
VS Code was the first text editor (in my mind) that absolutely nailed intellisense for Web Development.
When I wrote my first line of JavaScript, the only intellisense you got was from variables you had already typed
Not familiar with intellisense? It's the ability for your editor to display relevant information based on the context of what you are typing. For example, if you type document and then . inside of a JavaScript file, VS Code will display all of the functions, properties, etc. related to the document object.
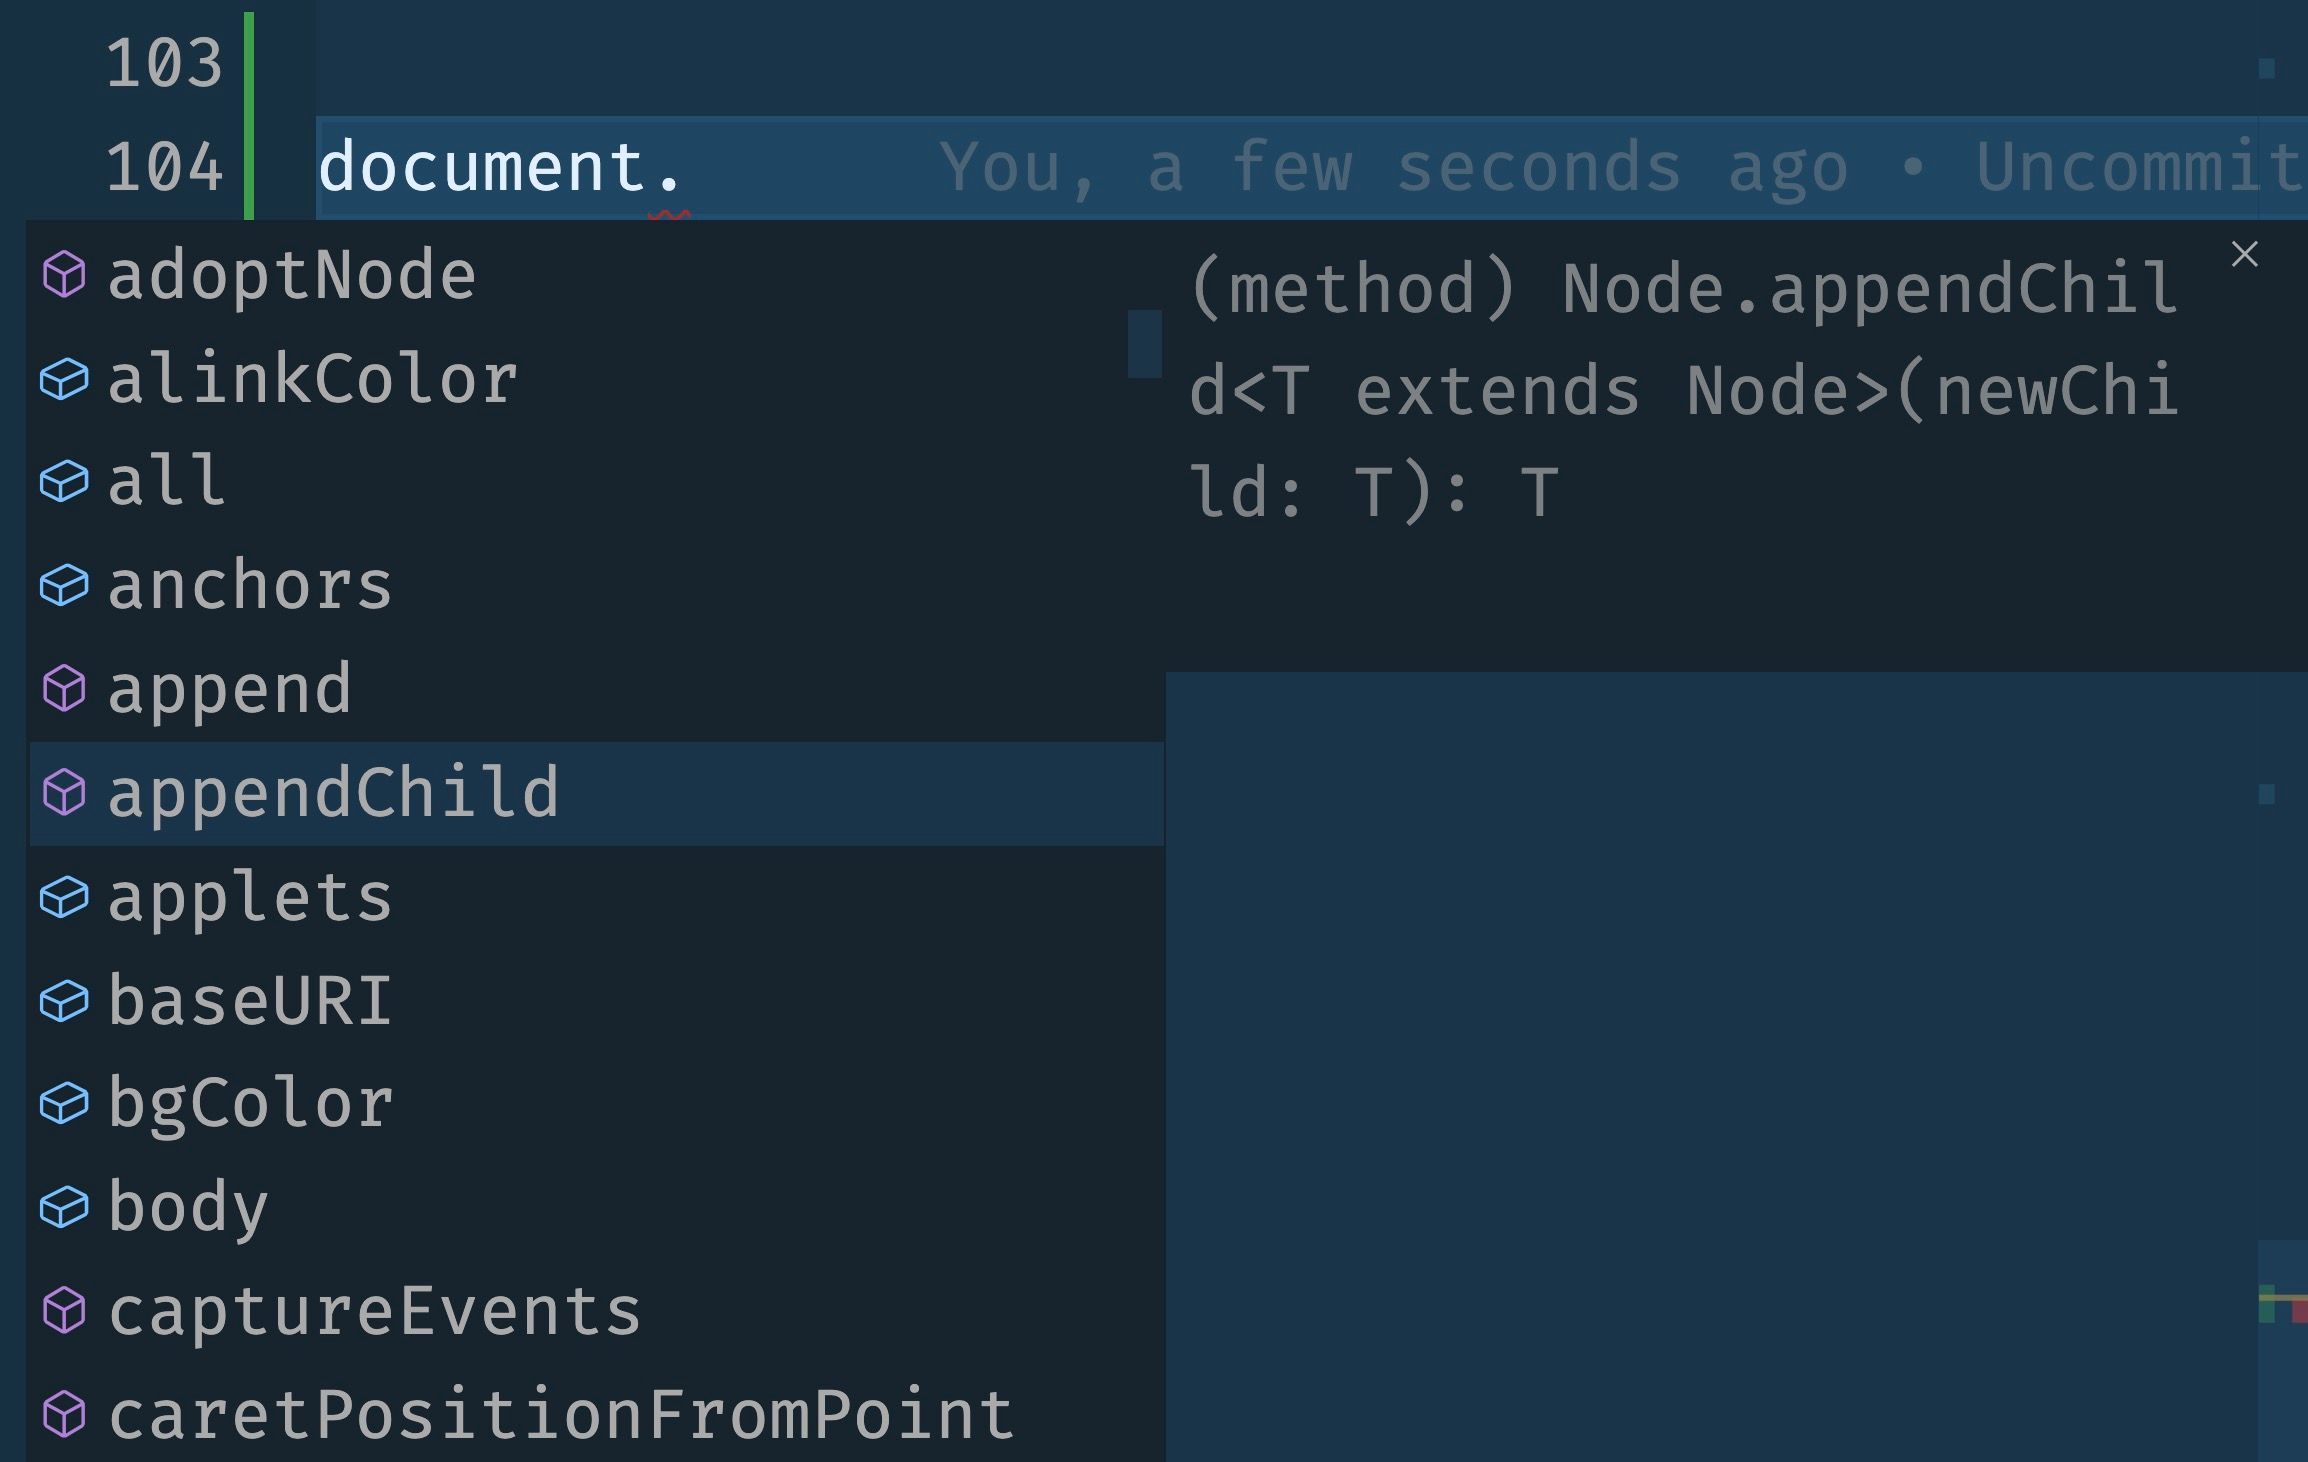
With VS Code intellisense, you will also see typed definitions for functions. In other words, VS Code will show you what type of data a function takes in as a parameter and what type of data that it returns.
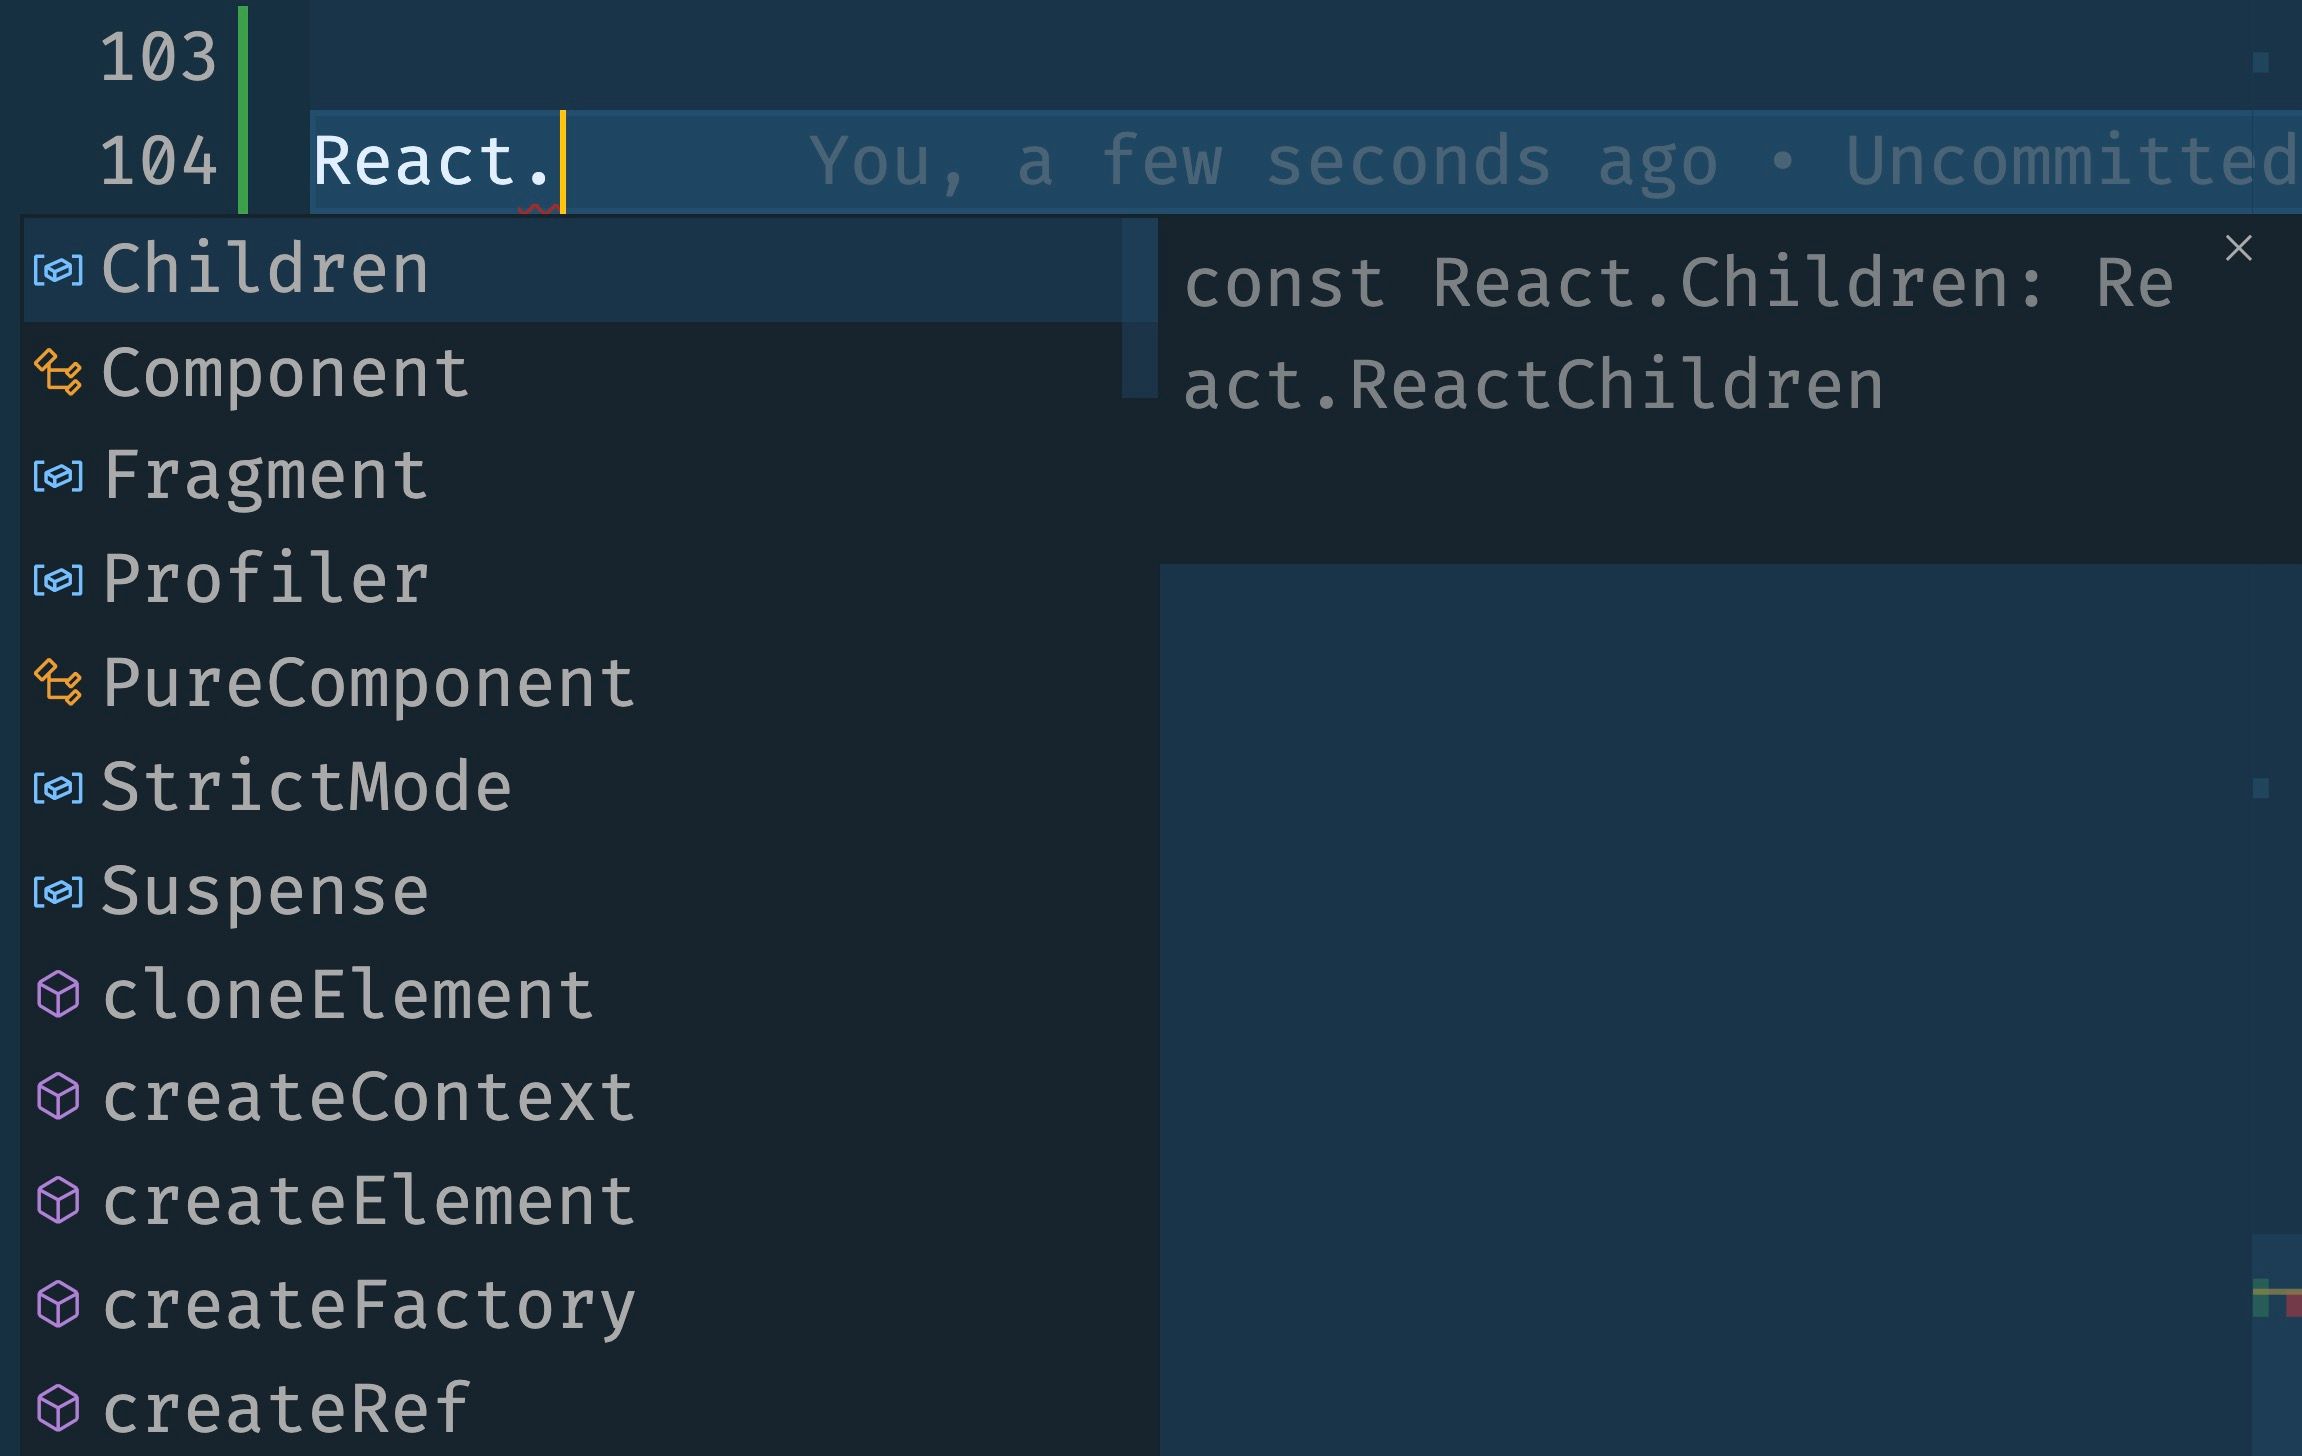
Did you know this also works with React? React comes with TypeScript typings which VS Code uses to provide us all of that fancy intellisense. The tip here is to leverage this information to your benefit. If you forget the name of a function, type React. and then scroll all of the info that VS Code provides!
5. Auto Import
Let's talk about JavaScript imports...one of my biggest pet peeves!
Let me rephrase, I don't actually hate imports per say. I specifically hate writing import statements. It's tedious and I have typos every time. So, the tip here is to let VS Code do that for you.
Going back to the idea of intellisense above, you get more than just information about objects. You also get context for other cool features, like "Auto Import". Don't believe me? Open up a React component and type useState, then arrow down untill you see this option and press enter.
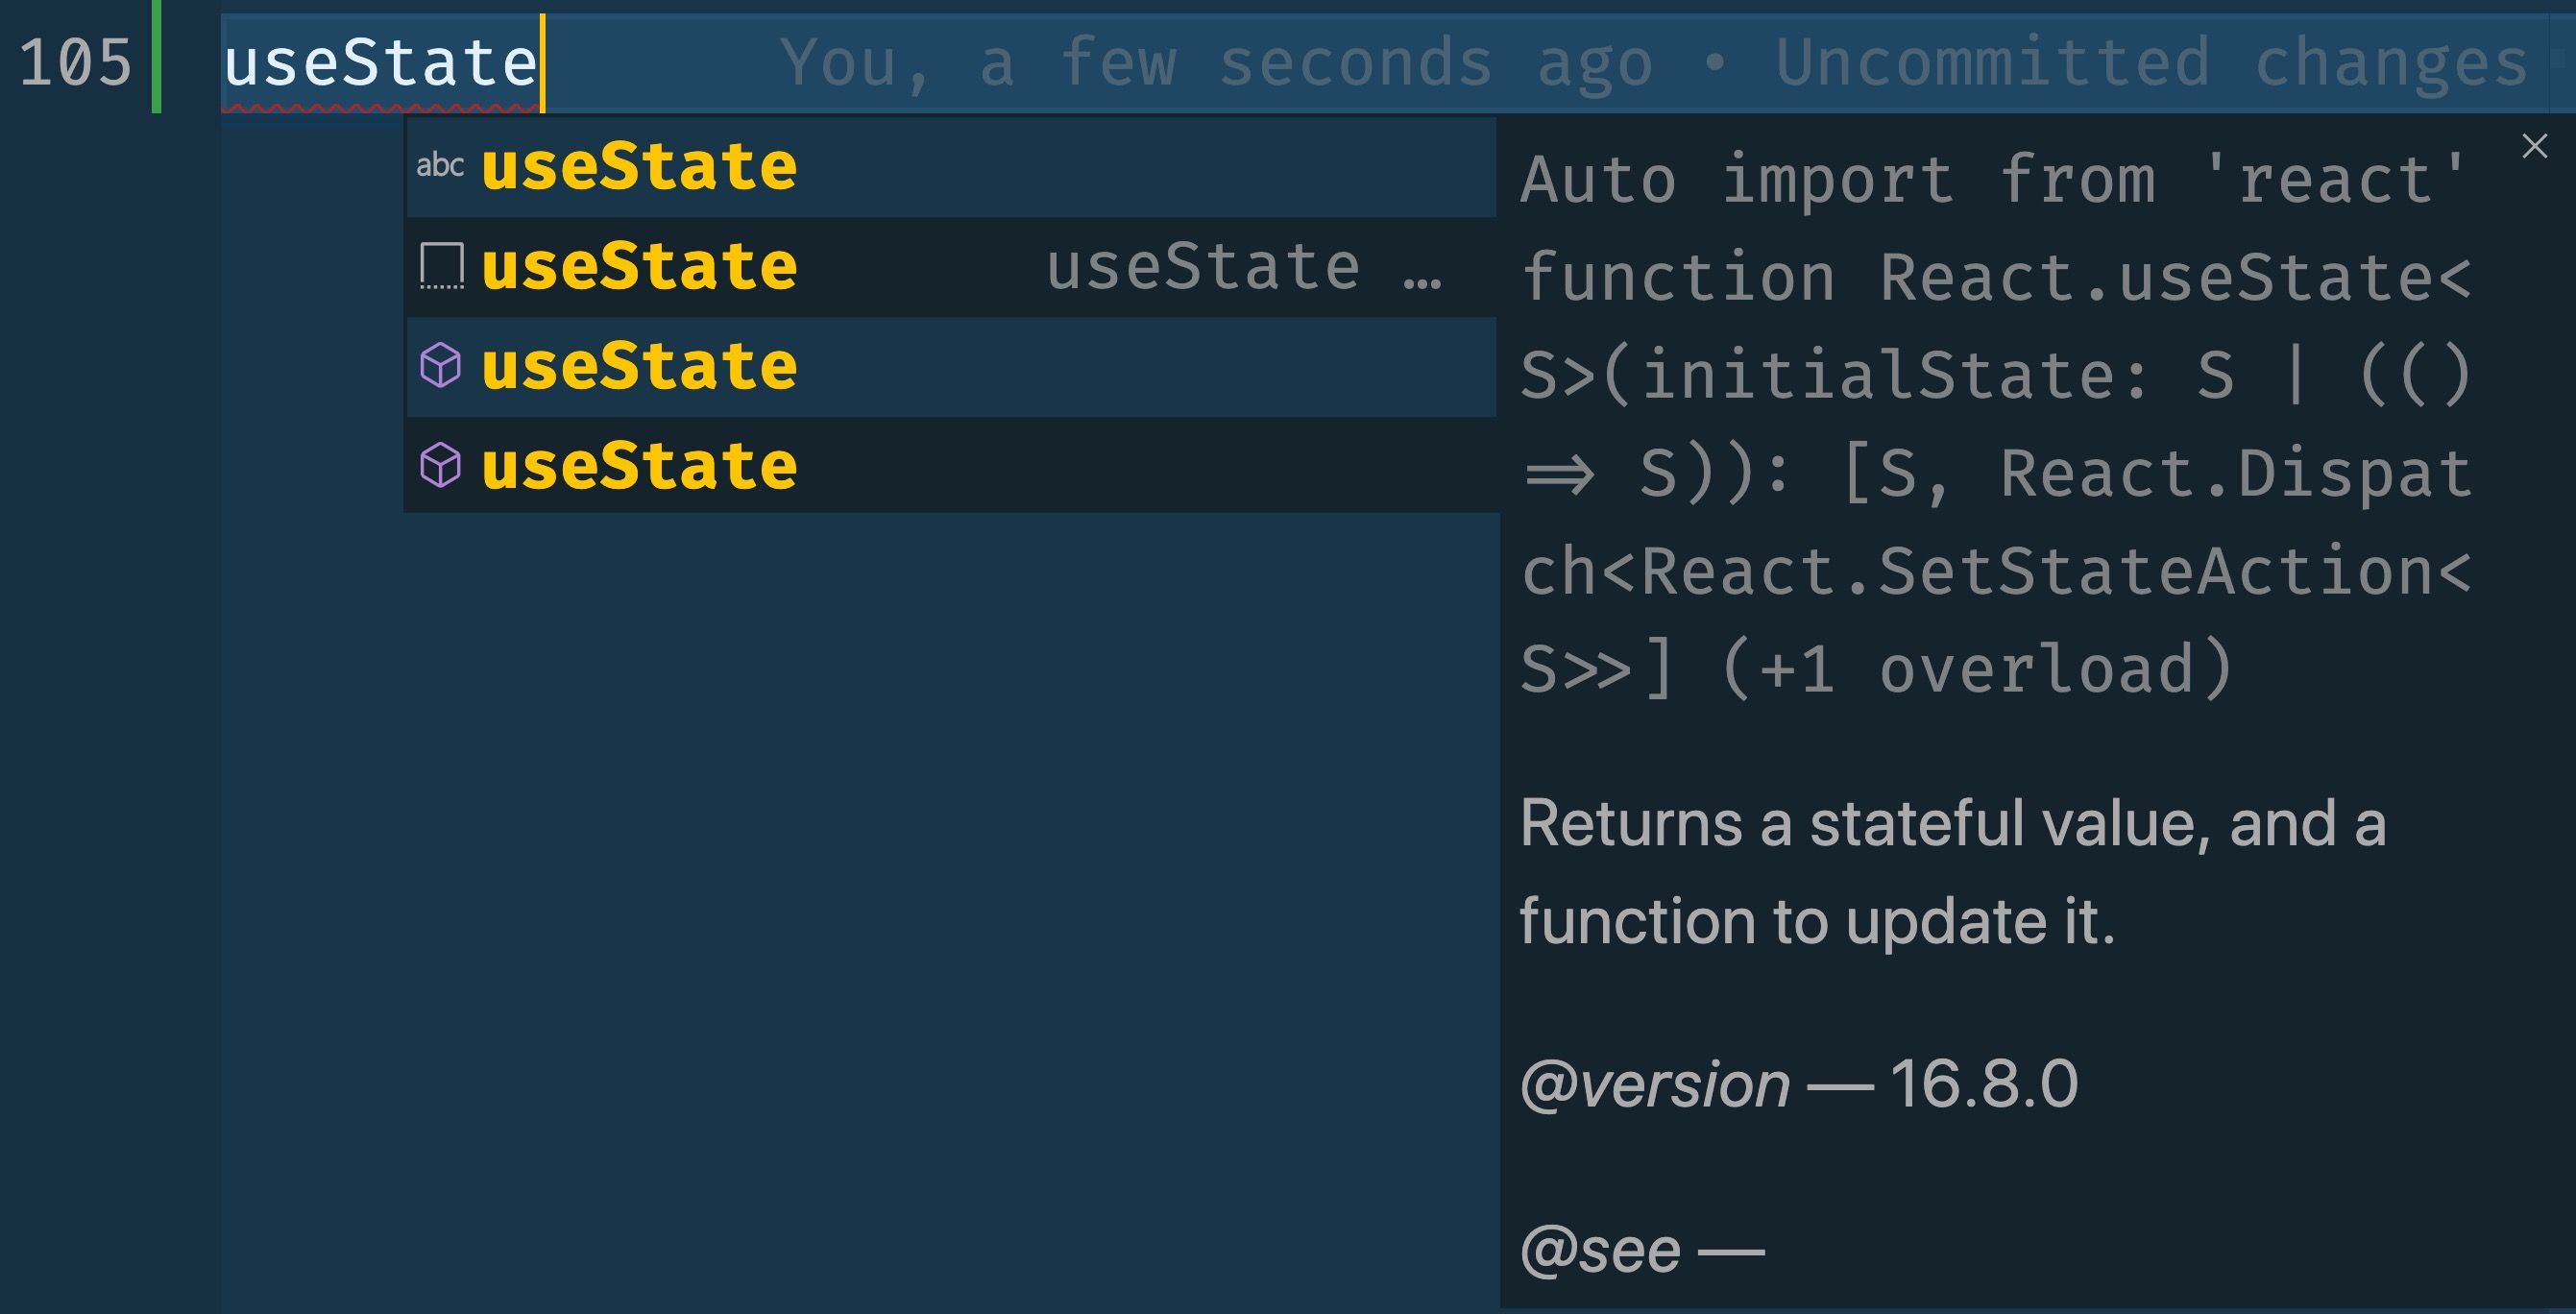
Now, look at the top of your file you should see the import!
import { useState } from 'react';
With Auto Import, you should almost never have to write an import statement yourself.
Wrap Up
You can probably tell I'm a huge fan of VS Code, and it certainly lives up to its reputation when it comes to working with React. Hopefully these tips will help improve your React experience with VS Code.
Are there any features that I'm missing? Let me know on Twitter.


